If you send me a motivational lock-down image I will send it back wrapped around a thermal detonator. Glued to a small nuke. Covered in bees.
Here was I thinking that being housebound for a couple of months waiting out the zombie hordes would be an excellent opportunity to get some painting done. Adam you sad, stupid fool. Up to this weekend, the sum total of my hobby-related achievements has been spraying and base-layering the rest of my Orc Blood Bowl team. In 8 weeks I've not been able to finish a miserly 11 models. My life is a whirlwind of work (my job means I can work from home - great when it's an optional couple of days a week, less so when it's mandatory five days a week), childcare (apparently "staying alive" is more important to my daughter's grandparents than providing free baby-sitting whilst I paint) and video calls (I'm rubbish at small-talk in person - turns out I'm worse at it when it's through a tablet screen...).
Of course you're not interested in any of that. It's a conceit on my part to imagine that you're interested in any of this blog, but if you're reading it you must be. If you exist. If no-one reads a blog published online, does it have any words in it? Yes of course it does, don't be daft.
Man, you gotta stop prattling. Lockdown is messing with your head.
What have I achieved then? Well, I've made a base for my human Blood Bowl team. Sitting in a plastic takeaway tub is all well and good, but they are bound to get damaged as soon as I start moving them. I've decided to take an idea from Trials of a Casual Wargamer and magnetize my team. Being near-terminally over-ambitious, rather than just adding magnets to the models and sticking them in a case I've gone overboard and created something rather more decorative. The goal: a Blood Bowl pitch style base, with cut-outs for the model bases to sit in and a metal base for the models to stick to. Eventually I'm going to get some acrylic and make a plinth and hinged lid so the whole team can be carried around safely, but for now I'm concentrating on the base section.
Being, well, me I had to start with a computer model of my case. I'm an open source enthusiast (you may read that as either free-spirited or cheap, up to you) so I've used FreeCAD to sketch out the design in 3D and then generate orthographic projections to use as cutting plans. When I've had time to tidy up the files I'll attach them to the blog in case anyone else wants to use them.
Tools & Materials
Core materials:
- 9mm MDF sheet (£6 for a 600mm x 1200mm sheet from Wickes)
- 6mm MDF sheet (£7 for a 600mm x 1200mm sheet from Wickes)
- 0.3mm galvanised steel sheet (£7.50 for a 300 x 300 mm sheet from Amazon)
Consumables:
- Polyurethane glue (Gorilla Glue)
- Wood filler
- Masking tape
- Sandpaper (coarse and fine)
Hand tools:
- Combination square (and pencil)
- Clamps
- Stanley knife
- Tenon saw
Power tools:
- Router with straight and curve-over bit (6mm or 1/4" radius)
- Drill with 32mm hole saw
Assuming I can get 14 bases out of a sheet of MDF and 2 bases out of a sheet of galvanised steel (and excluding consumables) I reckon that's about £5 per base.
Actually making the base is pretty straightforward:
Cutting
- Mark up the top section near to, but not right next to, the corner of the 9mm MDF sheet.
- Drill the base cutouts down from the top face (the face which will be visible in the final piece) with the 32mm hole saw; it's really easy to blow the face off the mdf when your hole saw breaks through, so don't drill from the bottom (inner) face towards the top (outer) face! We're going to be routing the back side so it doesn't matter if we do a bit of damage there.
- Flip the MDF over and route out the back side with the straight bit. Whether you use a template, use guide rails or go freehand is up to you; since this bit is going to end up inside the base and completely unseen, I didn't bother with guides or templates. However, this is where not having the piece right next to the edge of the MDF sheet is important - when you've routed out most of the top section it can be difficult to keep the router level if you haven't got much material around the edge to sit on.
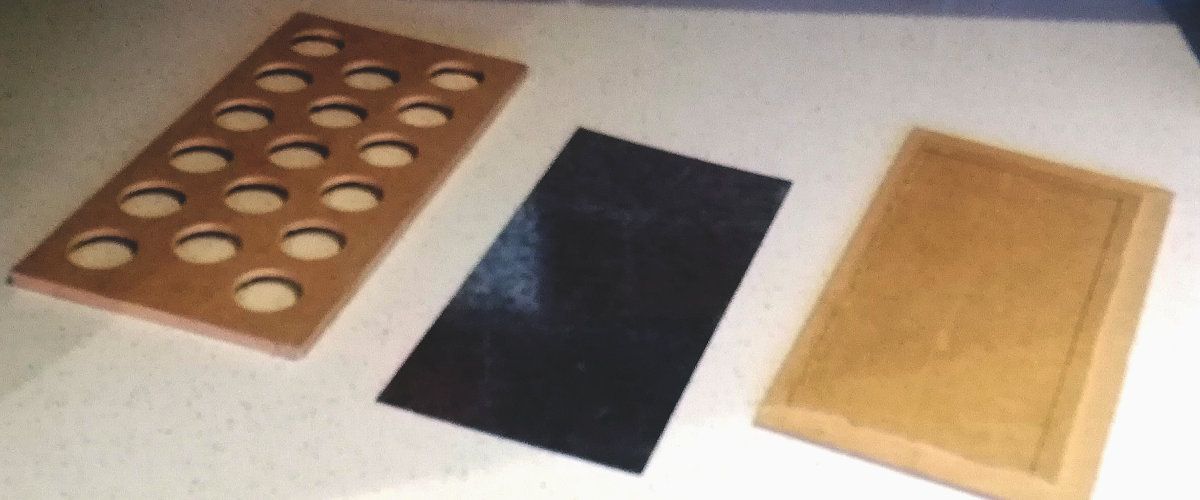
- Cut the top piece from the MDF sheet with the tenon saw.
- Mark up the bottom section on the 6mm MDF sheet (again, near to but not next to the corner).
- Route out the edges (again, I went free hand as it won't be seen, but it's up to you.
- Cut the bottom piece from the MDF sheet with the tenon saw.
- Mark up and cut out the metal sheet. You could use a jigsaw, a hacksaw or maybe even tin snips for this - but as the sheet is only 0.3mm thick I used the Stanley knife to score the edges and snapped it over a hard worktable edge.
- Check everything lines up!
Assembly
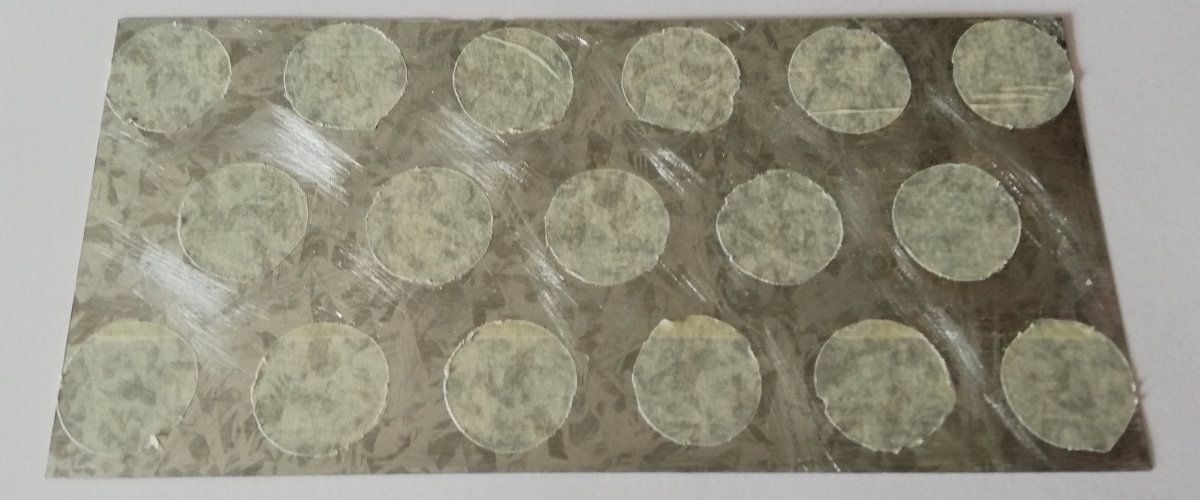
- Cover the surface of the metal sheet in masking tape, put the base together, and then use a knife to score the masking tape around the edge of the holes in the top section.
- Disassemble the base and peel off the excess masking tape, leaving the base circles.
- Use the coarse sandpaper to rough up the surface of the sheet around the masking tape circles; this will help the glue adhere to the wood.
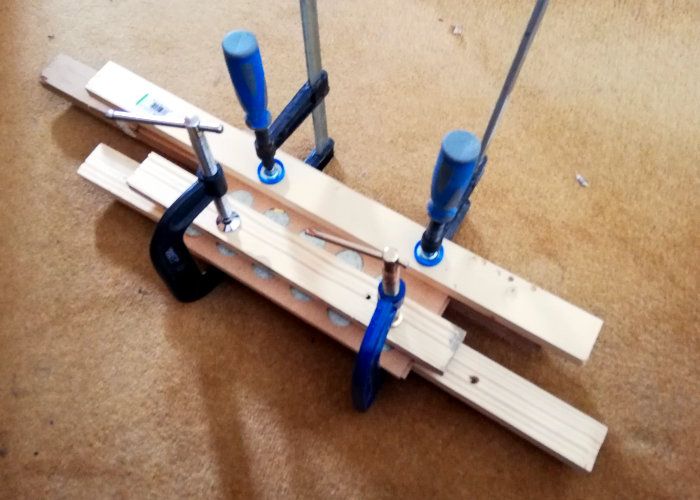
- Use water to dampen the inner surfaces of the top and bottom pieces (i.e. the two surfaces which will end up inside the base) and apply Gorilla glue across the inner surface of the bottom piece, and the recessed section of the inner surface of the top piece (you'll need to work reasonably quickly when spreading out the glue as it will start to "foam" within a couple of minutes).
- Assemble the three pieces, clamp tightly, and leave for several hours to dry (preferably overnight).
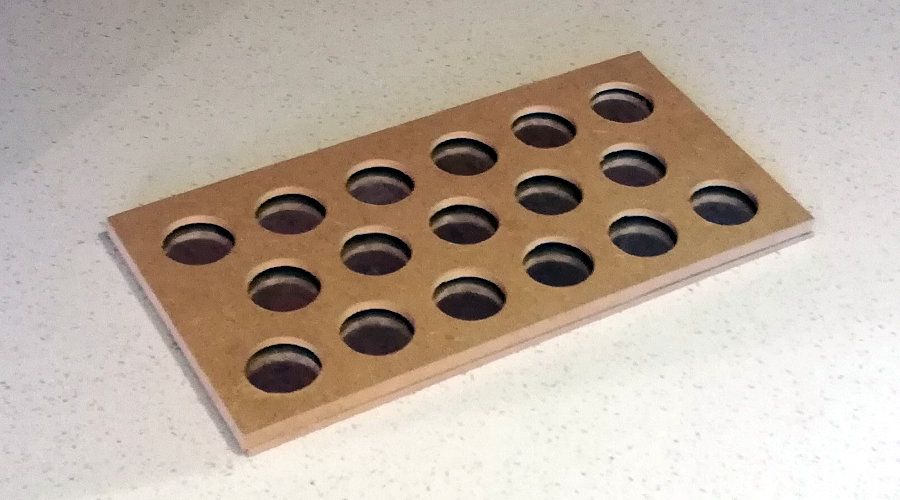
- Use wood filler to seal any gaps (around the edge where the top and bottom sections meet, and inside the cutouts where the metal sheet meets the top section).
- Use the fine sandpaper to smooth the side edges of the base and anywhere else you used filler.
Painting
That's the plain base ready. To paint it and add texture I did the following:
- Soil layer: applied a PVA/sand mix to the top surface first (including some built-up areas to give some height and texture), left to dry for 8 hours, and then washed the whole surface with Citadel Agrax Earthshade
- Grass layer: used super glue and small grass texture from the War World Scenics Fantasy Battle Miniature Basing Kit to create patchy grass cover over most of the base, washed with Army Painter Green Tone and dry brushed with Citadel Death Guard Green, Army Painter Goblin Green and Army Painter Necrotic Flesh.
- Long grass: used super glue and the grass tufts from War World Scenics to build up the grass around the "muddier" areas of the base, followed by judiciously placed clumps of grass and a rock or two.
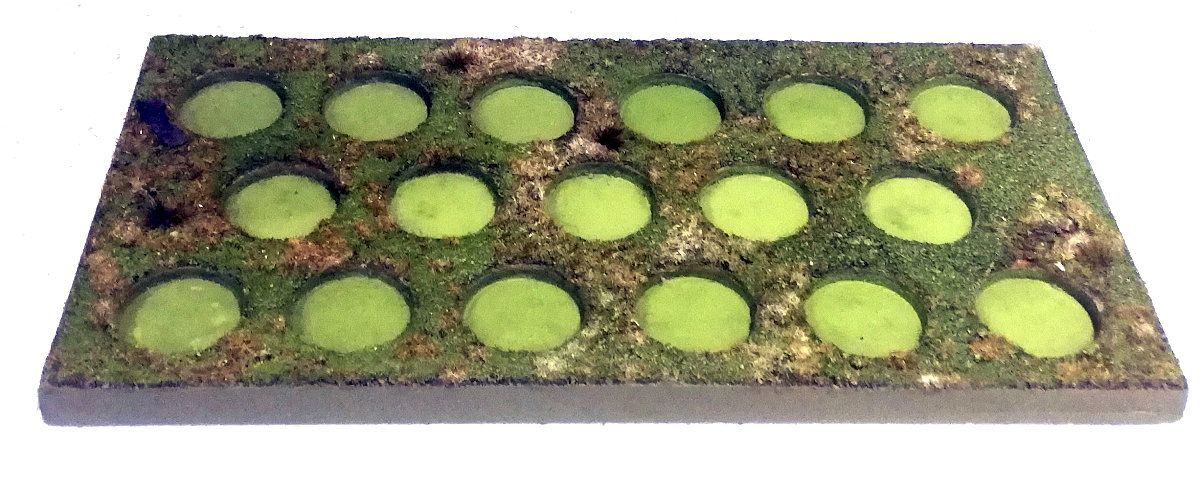
The final result looks like this:
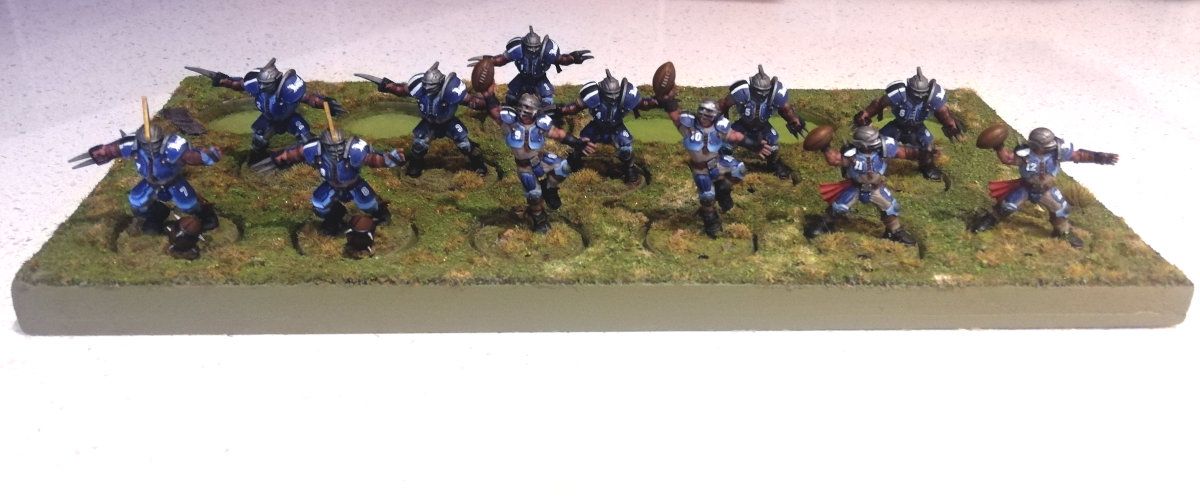
...and with the team in place:
...and a couple more just because...
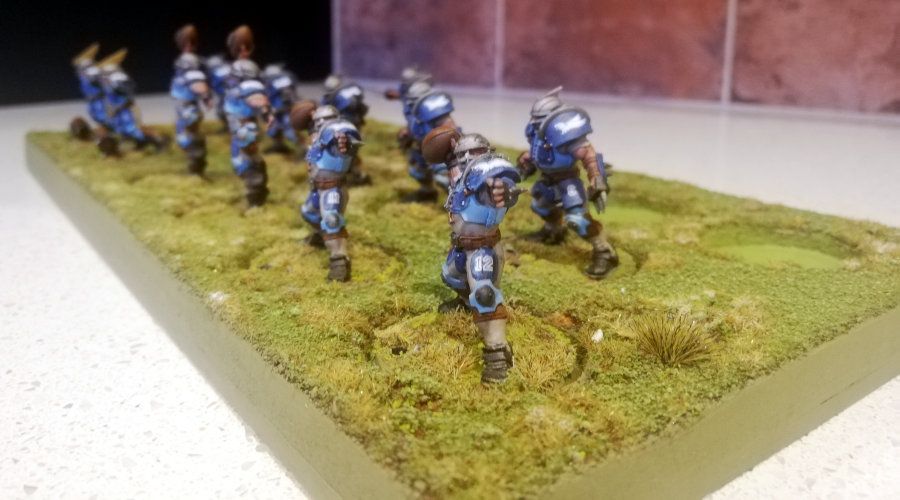
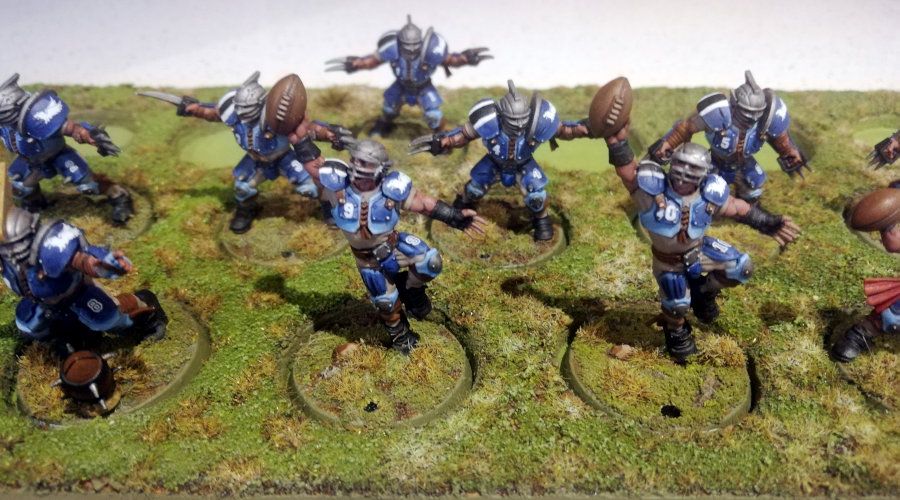
That's the base done. When I get hold of some clear acrylic I'll build the case to go around it so the whole thing becomes carry-able rather than just decorative.
I'll finish by saying stay safe, and take care of one another. Just, you know, from a distance of at least 2 metres.
