A horse! A horse! My kingdom for a horse! (sold as seen; no returns, refunds or abdications accepted)
Up to now all of my hobby-related posts have been centred on miniature painting and the game of Blood Bowl. But that's not the only arrow of artistry in my quiver of craftiness. I also enjoy messing about with wood in my shed*. Most recently that has involved making a Rocking Horse Chair as my daughter's Christmas present.
Sourcing The Design
I first started looking at rocking horses - and particularly ways to make your own - back in August. A little research quickly led me to The Rocking Horse Shop in Yorkshire. They make and restore some beautiful rocking horses; if it hadn't been for the pandemic I would have visited in person just to see them. The thing that really attracted me though were the plans, tools and accessories available for building various sorts of rocking horse - from simple little toys to virtually adult-sized horses. In particular there are plans for quite beautful horses made from plywood - which doesn't sound beautful, but in practice is really quite stunning.

My first intention was to dive straight in and make a start on a full-size rocking horse, so I ordered the plans for the Medium Rocky and a DVD guide to the techniques. Watching the DVD and reading the plans I quickly realised I had the wrong approach. For a start the medium-sized rocking horse is only recommended for children 3 years and older - Hattie was only 18 months old in December (and a bit small for her age) so that was a non-starter. However a supplementary guide on the DVD was for the Little Rocky - a "rocking horse chair" much more suitable for a toddler.

Buying Tools
Of course the best bit of any hobby (other than surveying, whisky in hand, your completed handiwork) is buying all of the cool new toys essential tools. These tools are less widely used than your typical hammer and chisel so there are few economies of scale to take advantage of - making the better-quality tools rather expensive. Ho hum. Still the mallet and gouges are rather lovely things in their own right.
- 12mm gouge (here)
- 20mm gouge (here)
- Mallet (here)
- Surform (here)
- Coping saw (here)
- Drum sanding kit (here)
The material used is plywood - and the recommended type is grade B/BB birch plywood (the best generally available - with the B and BB denoting the quality of the wood on each of the two faces of the sheet). You can find some specialist suppliers claiming higher quality or using unusual woods but the prices (particularly factoring in delivery) are rather steep. As this is my first go at carving I decided to go with something a bit more mainstream from Wickes. I would recommend choosing the sheets in person if you can - that way you can filter out any obviously damaged or warped pieces.
Marking Up and Cutting Out
The first phase in marking up is to transfer the shapes from the plan paper onto something a bit more durable for use in the workshop**. This was a two-step process; first using tracing paper to copy the outlines of each piece, and then attaching the traced pieces to thick card which could be cut out and marked up.
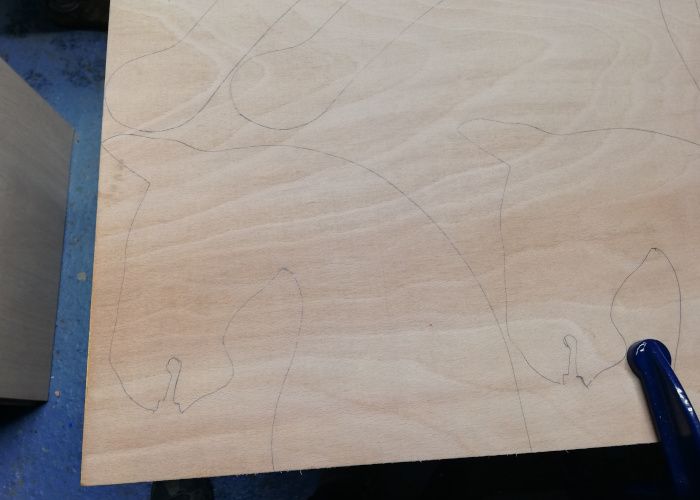
The second phase is using the cardboard stencils to mark out the pieces on the plywood. With a bit of jiggery pokery I managed to get the whole Little Rocky from one 600x1200 sheet.
For cutting out I used a jigsaw to get the rough pieces, then a router with a straight bit (for straight edges), drum sanders on a power drill (for the long curved edges) and a router with a flush trim bit (for getting matching pieces identical).


Making the Chair
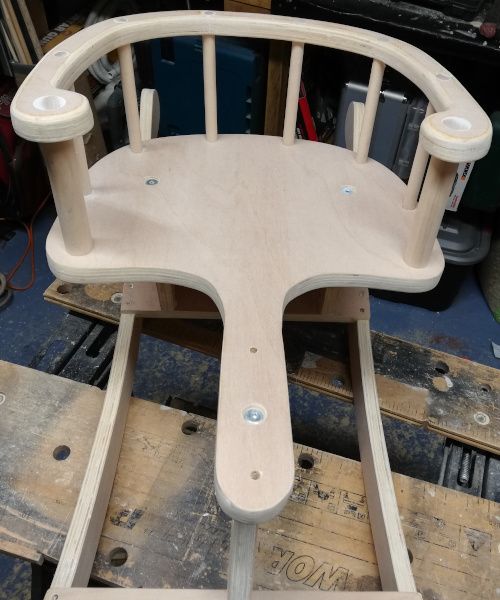
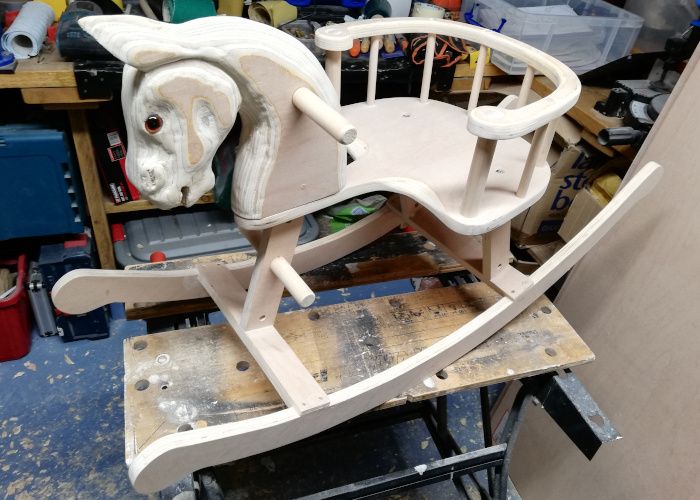
Assembling the chair is relatively straightfoward - you just need to take a bit of care getting the dowel rods into the seat and seat-back holes (more care than I took - thus the filler you can see in some of the photographs!).

Carving The Horses Head
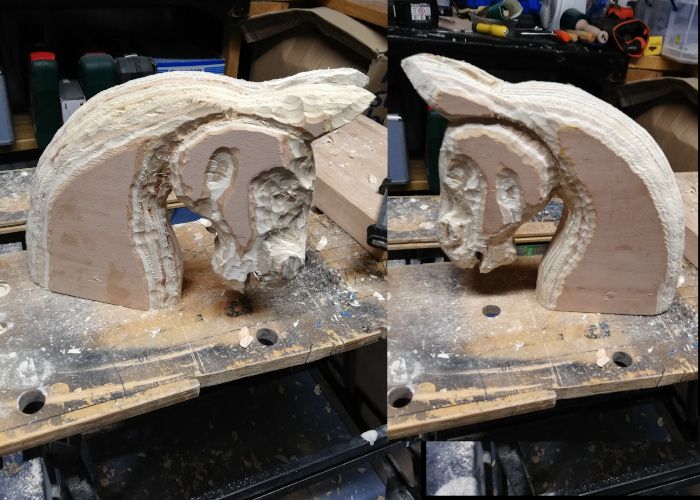
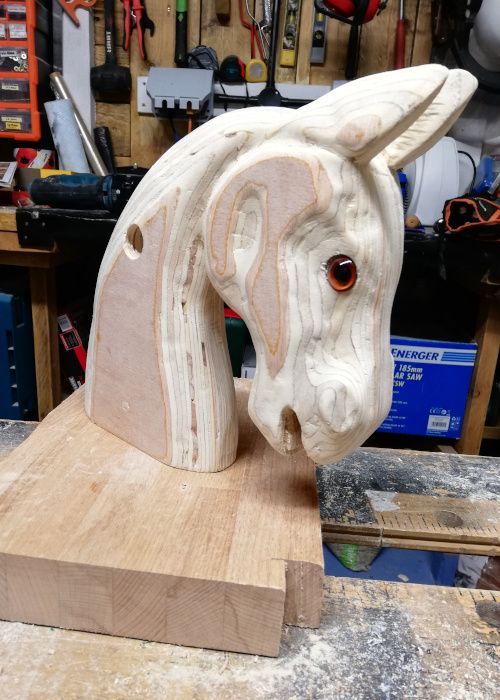
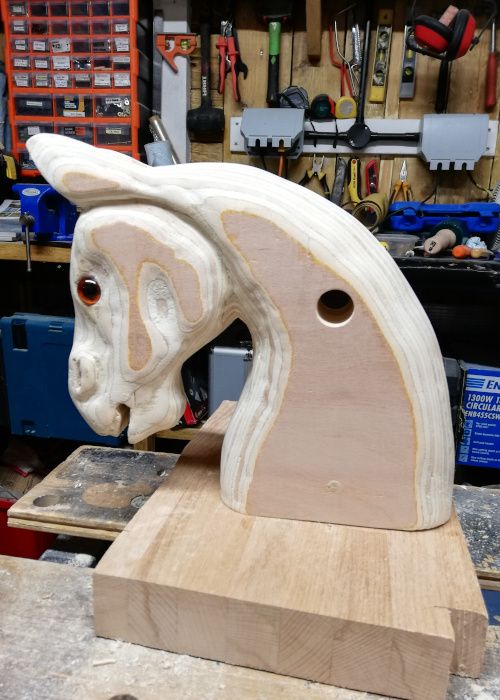
This is the fun bit - the bit that involved trial and error, and the new tools! After sandwiching and gluing the three headpieces, it's time to start carving. It's at this point that the DVD really comes into its own - watching someone else mark up and carve the head is much easier to understand than interpreting the instructions. If your new to this sort of thing I would really really recommend getting the DVD (I guess there may be YouTube videos out there too, though I haven't looked).
Final Assembly
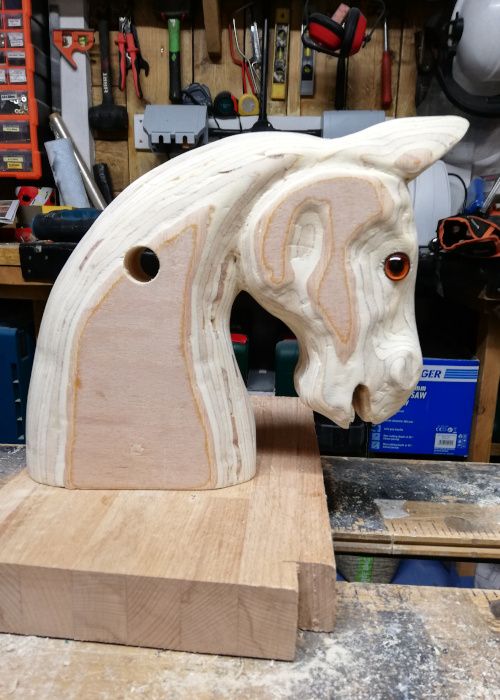
Attaching the head*** really brings it together. A final sand, followed by three coats of yacht varnish (I assume this thing is going to take some abuse) and it's ready for the leatherwork. I'll admit that wasn't my work - a future skill to learn, a future set of tools to buy...


Closing Thoughts
Hattie took possession of Little Rocky on Christmas morning - and although she's still a bit small to climb on herself she loves it, and has already gotten the hang of rocking. I'm really happy with the finish - there are always things you look at and think "I'd do that differently", but nothing that I actually regret.
Other thoughts?
I need more tools! That's true in pretty much any situation, but here I actually have reasons rather than excuses.
- A wired power drill. My battery-powered Makita SDS drill is fantastic but as you are running it for extended periods when using the sanding drums you can chew through even large batteries fairly quickly. I'm going to keep my eyes open for a decent cheap-ish one.
- A pillar a drill. Seems a bit excessive but, drilling properly vertical holes is important for lining up the pieces of plywood - and hand-drills aren't accurate enough (at least in my hands).
- A bench-mounted belt sander. For taking large amounts of material out quickly, and creating properly perpendicular faces on rectangular pieces of work. The bows would have been much quicker (and smoother rocking) if I'd had something like that.
* Not a euphemism
** Shed
*** I have the Catatonia lyric "We put horses heads in peoples' beds cos we are the mob" going round in my head
