These titles have started to get a bit silly now. Sorry.
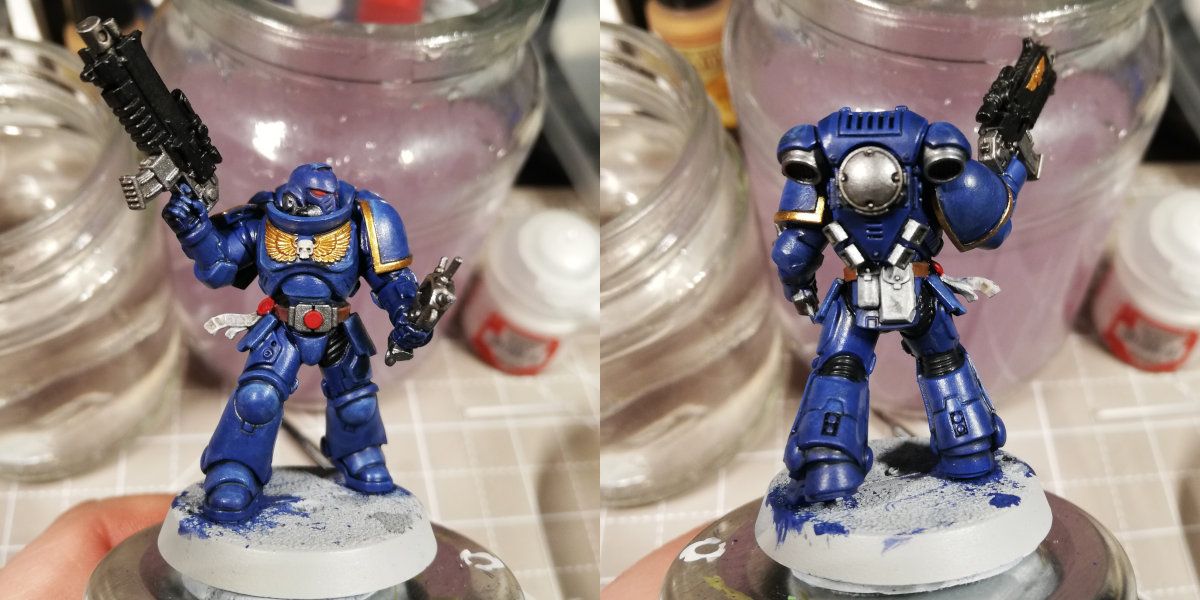
A second chance to finish marine number 2, and tonight's plan is to layer, highlight and base the model. I'm going to try the layering technique described in a lot of the tutorials - gradually adding thin layers of lighter shades to achieve a smooth transition into the highlights.

I'm not unhappy with that at all. The layering seems to have worked (after much trial-and-error), with a particularly nice effect on the shoulder pads. However, the shininess hasn't all gone. I wonder if that's because I went straight from the shading to the layering, without re-applying the base layer? Something to consider for marine 3. Not a lesson as such, but something to experiment with.

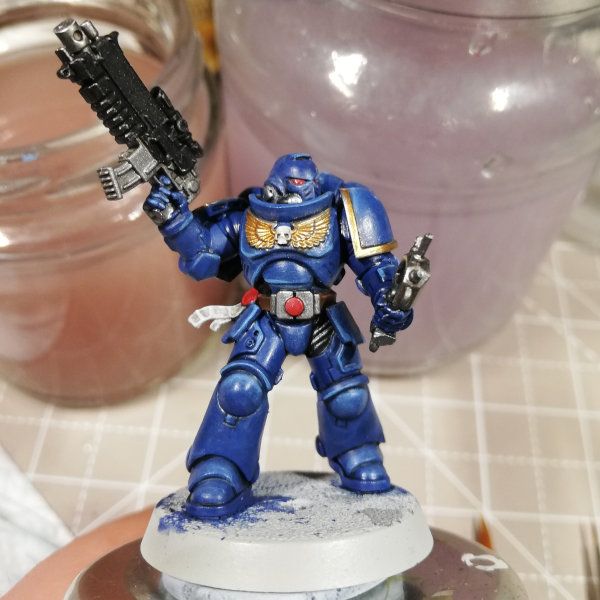
The final highlights are now in place. I'm pleased with the silver highlights on the gold elements of the armour, and the white highlights on the red eyes and belt buckle - but I'm still not sure the edge highlighting on the armour is working. Comparing my results to those online (and particularly the Games Workshop Heavy Metal style) I've applied too much layering, and my highlights aren't starkly contrasting enough. I'll try the alternative approach on marine 3, and then make a choice on my preferred style.
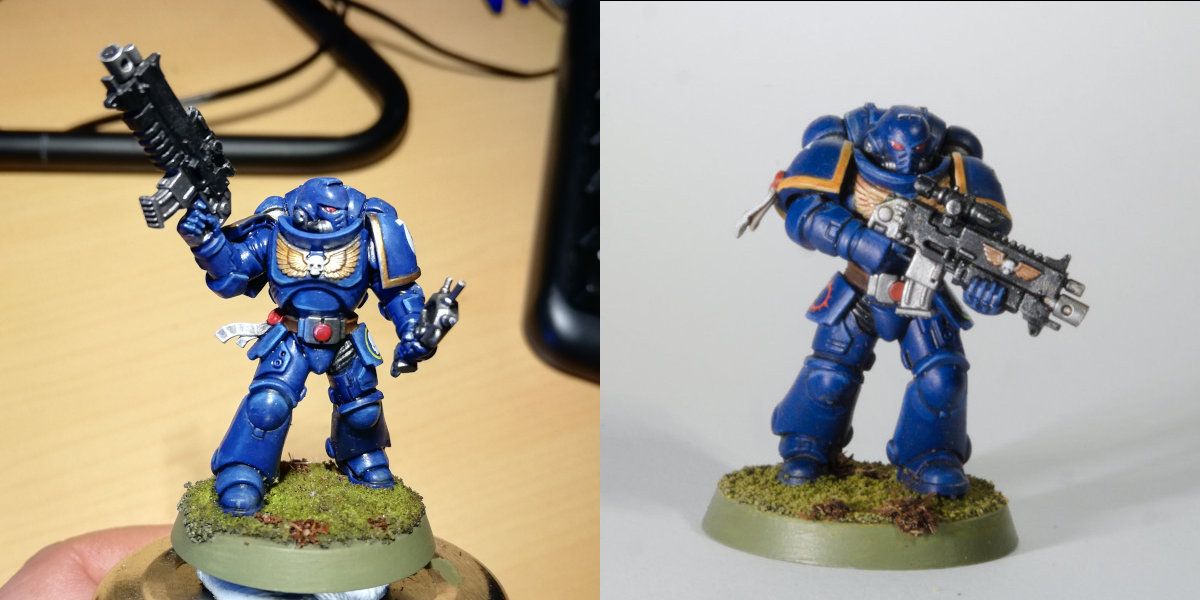
So, with the base applied, how do marines 1 and 2 compare? Which is my favourite son?

Sorry marine 1, but marine 2 edges this one. He may be a bit shinier, but the overall depth of colour and neatness is significantly better. Now if only I can get the time-per-model to something less than 6 hours...
Lesson 1: Layering isn't as easy as some people in internetland make out. There are really three sub-lessons here: (1) to get a really good result you need to apply a lot of layers, (2) to avoid the paint pooling and streaking you need to thin it with more lahmian medium but less water, and (3) you get a better result if you mix the base colour with the next shade up for the first set of layers, rather than going straight to the next shade.
