Yes, it's been 18 months. What of it?
Full disclosure: I have no great and abiding love for Tyranids. Sure, I once fielded a Tyranid army - 30 years ago under the 2nd Edition Codex, back in the days of bright primary colours and turkey-warriors. Today they feel like a generic "big bad", a useful foil to the heroic Astartes*. No, I needed something to practice painting on after an extended hobby hiatus, and the 40k starter set was a cost-effective way of doing it. 38 miniatures, plus rules and dice, for £65? Don't mind if I do.
As the point of the exercise was to practice my painting, I went through a number of approaches - particularly with the Termagants and Von Ryan's Leapers. I tried the "standard" approach (base/shade/block/highlight), the "quick/modern" approach (base, contrast, highlight) and the "noob" approach (base, shade, drybrush).
It turns out, for me, painting Tyranids, the "noob" approach worked best (and quickest) - with an extra step for details, textures and top highlights. Overall I'm pretty happy with the result:
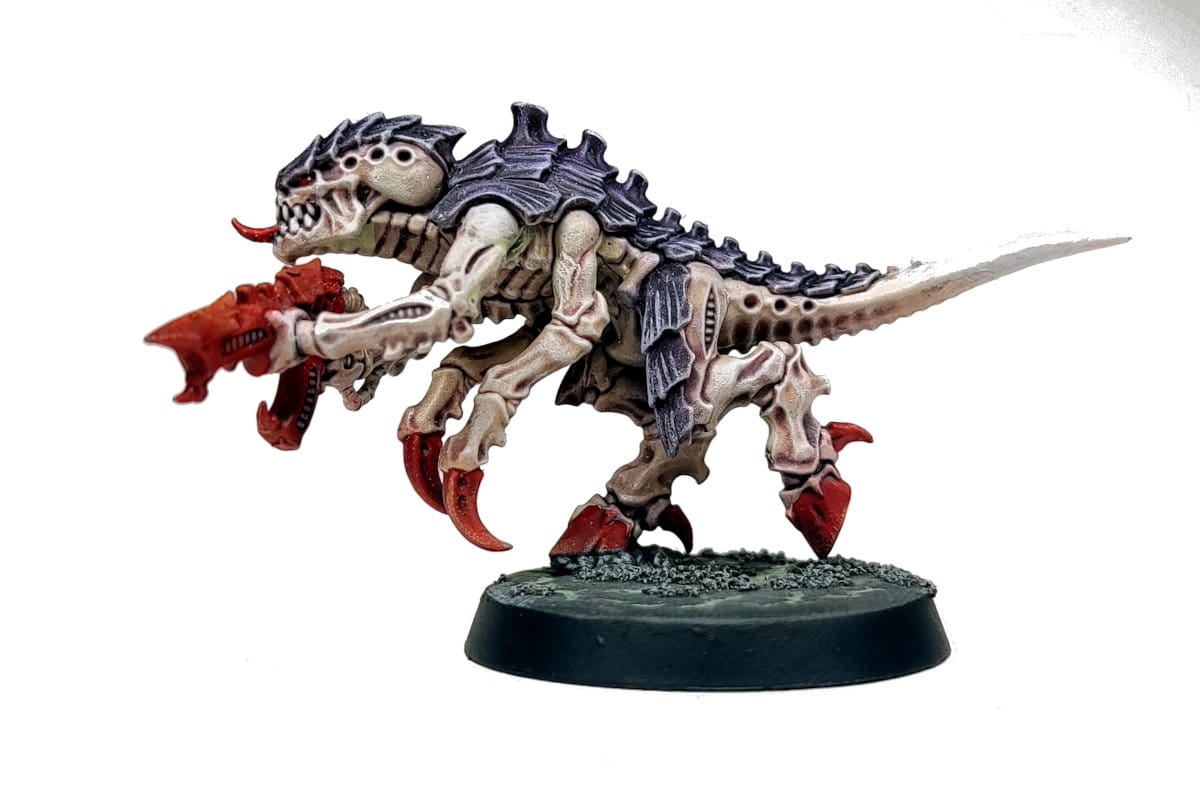
Most of my paints are from the Duncan Rhodes/Transatlantic Games Two Thin Coats range. My final recipe was:
- Primer: Vallejo Surface Primer - German Panzer Grey
- Body:
- Base layer: Two Thin Coats (TTC) Ivory Tusk
- Shade: 33% TTC Helion Red Wash + 30% TTC Magi Purple Wash + 30% water
- Drybrush: TTC Griffon Claw, TTC Ivory Tusk, TTC Trooper White
- Chitinous Armour:
- Base layer: Two Thin Coats (TTC) Ivory Tusk
- Main colour: 3 layers of 50% Citadel Shyish Purple Contrast + 50% TTC Magi Purple Wash (building up a gradient)
- Drybrush: TTC Amethyst Rain, TTC Sorceror's Cloak, TTC Runic Purple
- Highlight/detail: 50% TTC Runic Purple + 50% TTC Trooper White
- Weapon/claws/hooves:
- Base layer: TTC Sanguine Scarlet
- Shade: 50% TTC Helion Red Wash + 50% TTC Magi Purple Wash
- Drybrush: TTC Sanguine Scarlet, TTC Demon Red, TTC Orange Flame
The other new technique I tried with these models was a "cracked base" effect. Rather than shell out for technical paints, or crackle medium, I followed a tutorial that creates an excellent effect with PVA glue and an airbrush (not PVA glue in an airbrush, mind):
I learnt a lot trying this out, and I will definitely use the technique again. The basic steps were:
- Paint the bases in a fairly random pattern - a single colour, but ranging in brightness from mid-tone to very bright highlight (I did this with an airbrush).
- Paint the bases to a thickness of about 3mm with PVA glue
- Immediately spray over the bases with your darker base colour
- Leave for about 12 hours until the PVA is completely dry. The idea is that the paint dries almost immediately, but the PVA dries slowly - and expands slightly as it dries. That's what causes the cracks, and a thicker layer of PVA = more growth = bigger cracks. Once the PVA is dry it's clear, so you can see the colours showing from underneath.


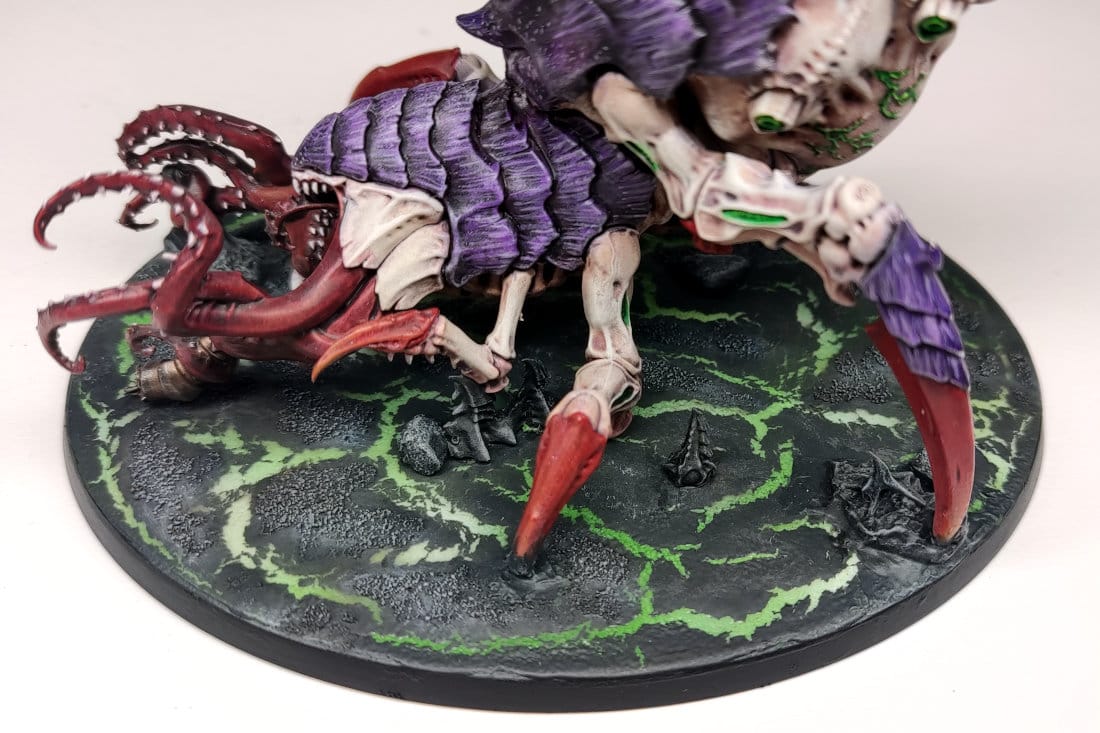
So my final results are...
The Von Ryan's Leapers:
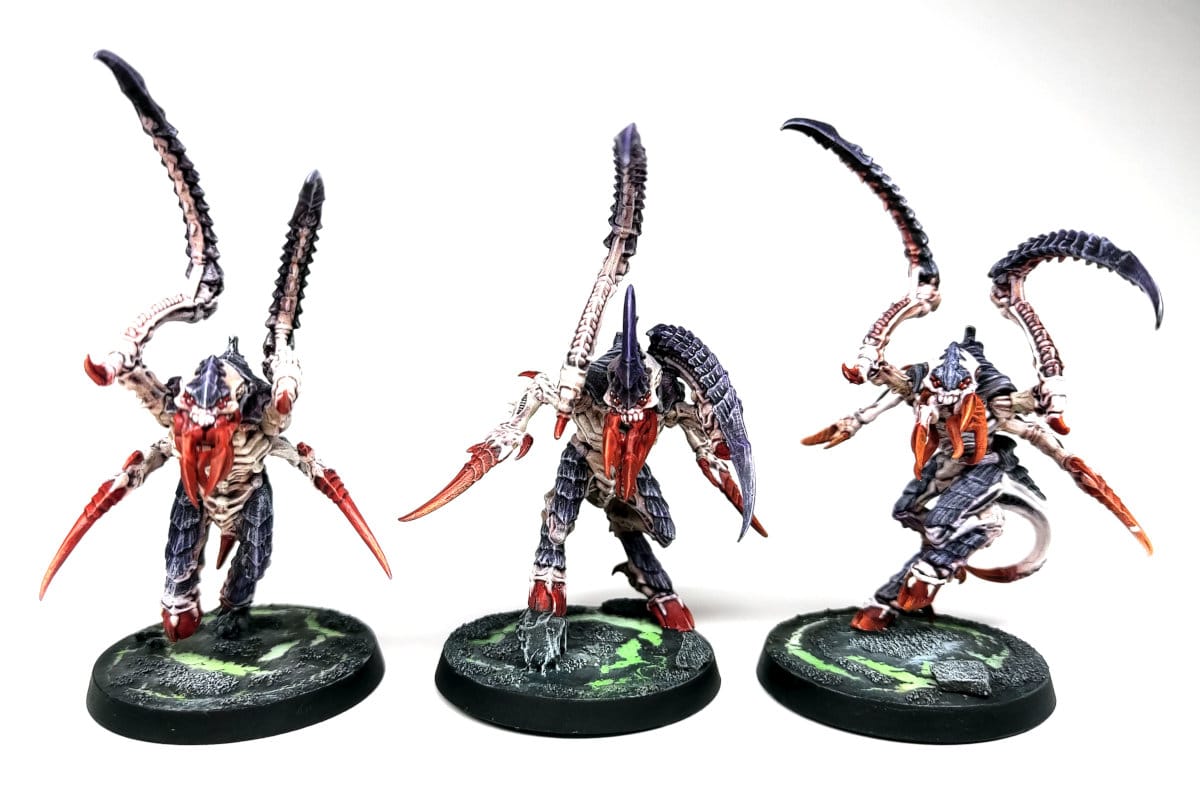
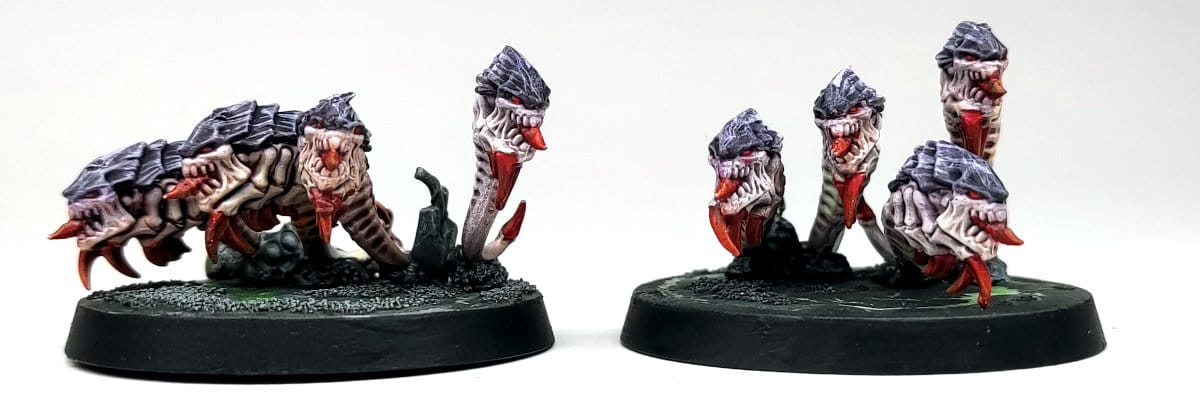
The Ripper Swarms:
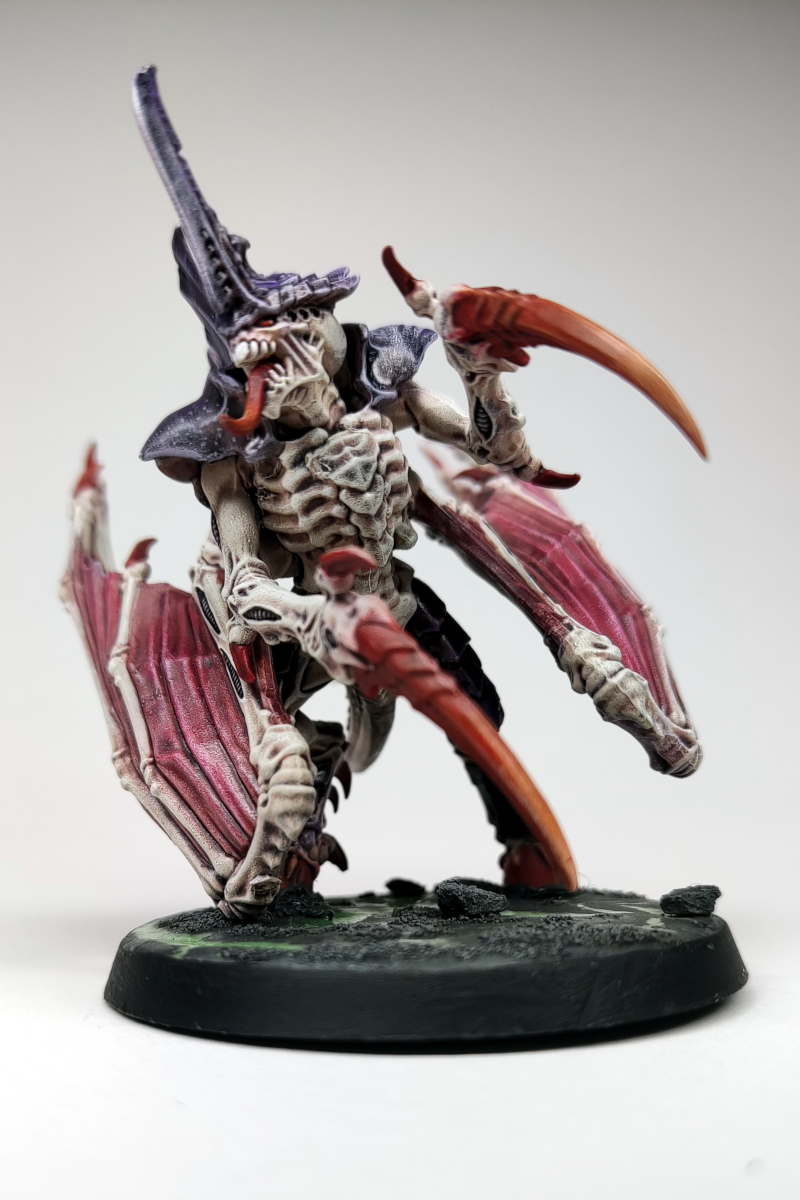
The Winged Tyrant:
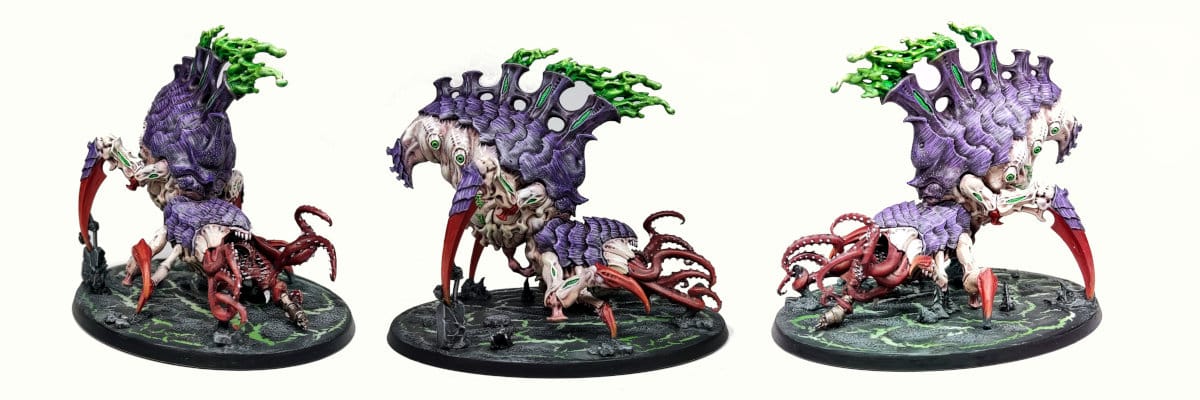
The Pyschophage:
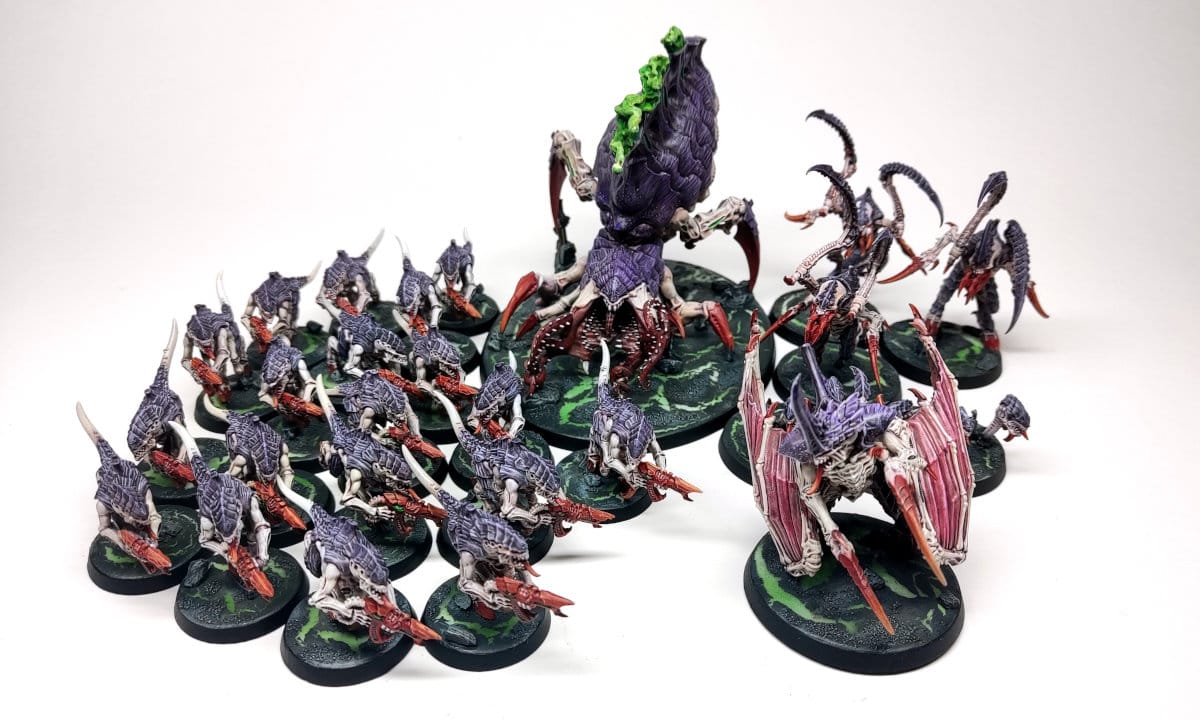
And finally the whole horde:
Well, that's it for the Tyranids. You may see them on eBay at some point, recouping some hobby funds. Next it's on to the Space Marines. There will be no blue-and-white in sight 😉.
* Yes, I know the Imperium are not supposed to be the "good guys", and Space Marines are genetically engineered murder drones, but Games Workshop haven't exactly played up the genocidal military-theocracy theme in recent years. Bad for sales, I guess.

